Awesome Photo Bunting DIY

This photo bunting was for my daughters graduation party. Its actually from last year, but I am only now getting round to posting about it.
I’ve made photo bunting lots of time before – but in this venue, although some of the bunting is against the wall, in some sections, both sides of the bunting will be on view.
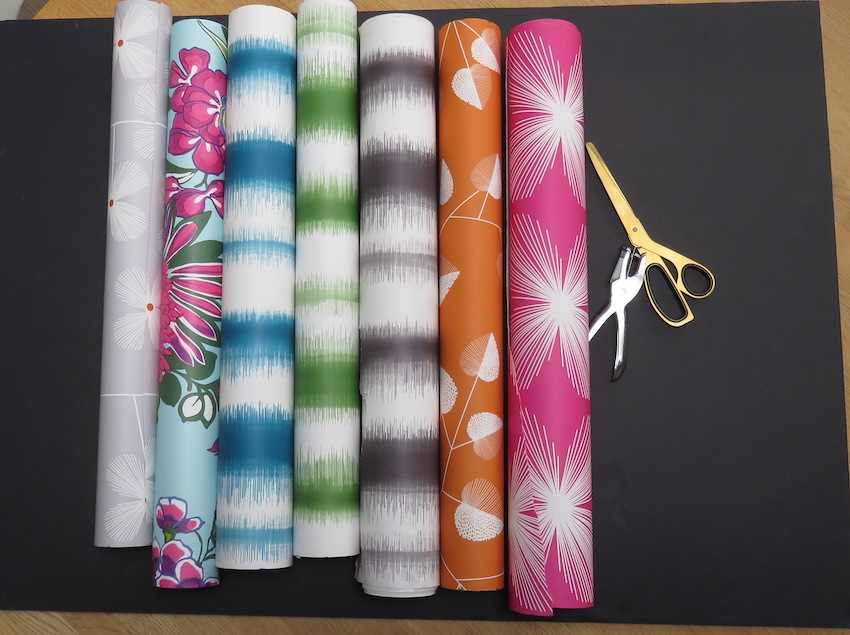
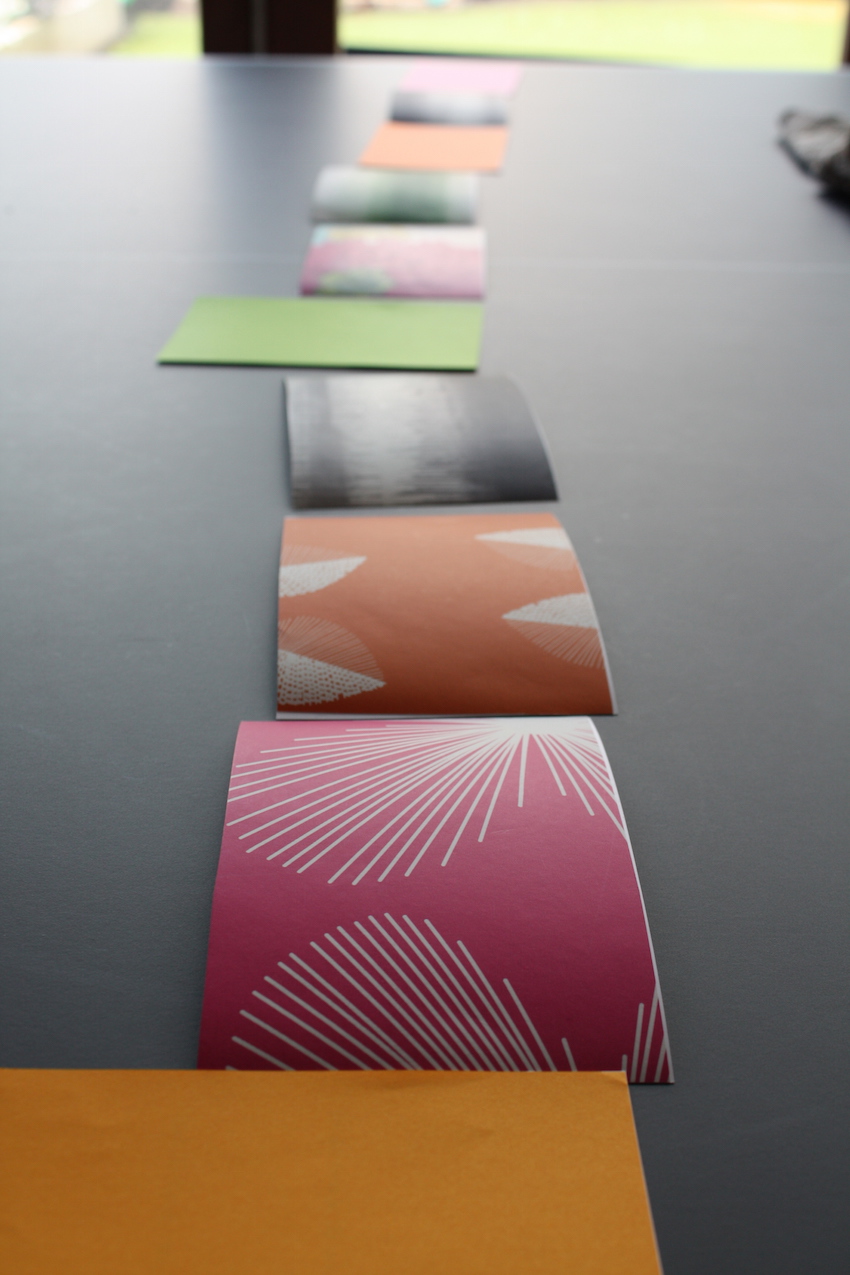
I don’t want to “waste” photos by putting photos on both sides, as many of the pictures won’t be on view, so I double sided them, using wallpaper samples and gift wrapping paper in contrasting bright colours.
 (These are all from the Habitat range at home base)!
 The biggest issue I always have with photo bunting is choosing which photos to print off. As this is for a school function, for these I had to make sure that all the kids were fairly reflected. Unfortunately it seems like some kids hide from the camera, so easier said than done, but everyone is in there at least a couple of times!
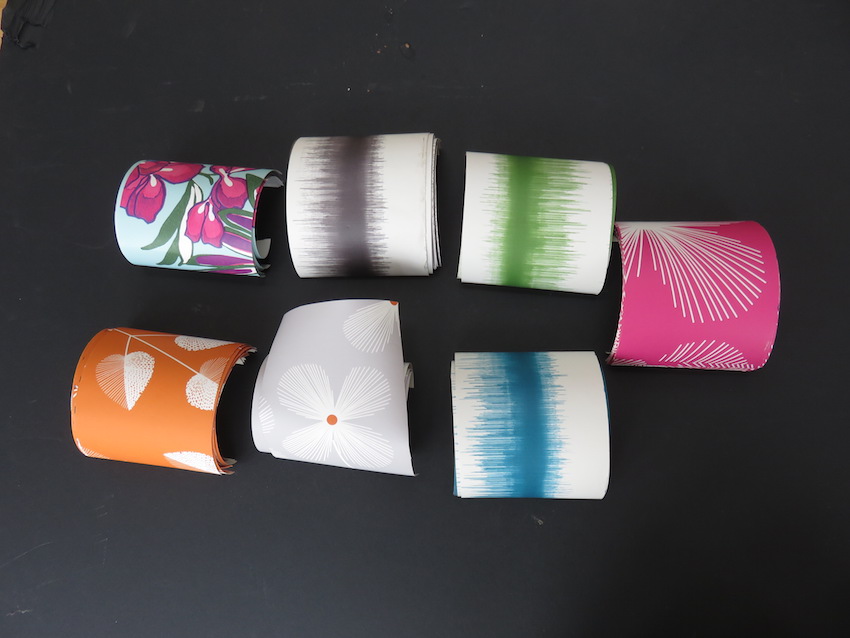
Split the photos to randomise landscape / portrait and black and white / colour.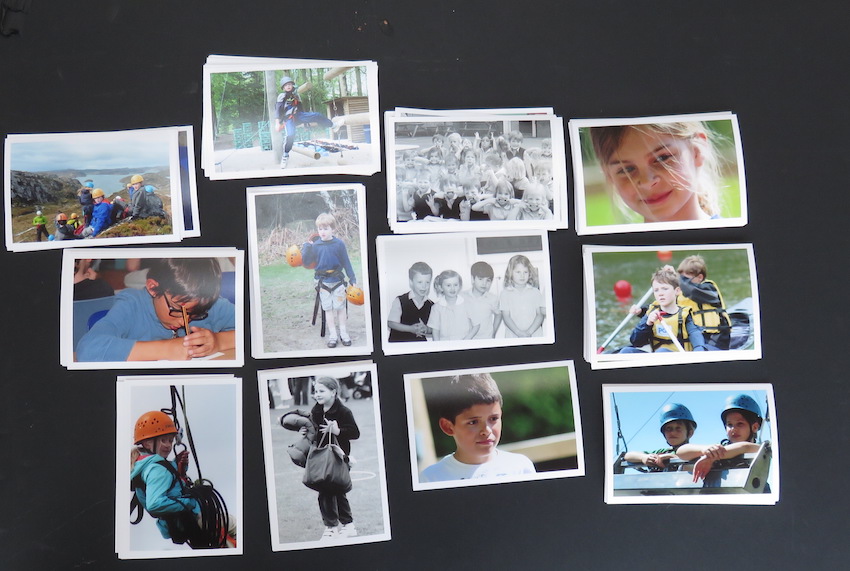 Cut the wallpaper into similar sized oblongs. This takes a few minutes with a paper trimmer.
 Attach the backing with double sided tape along one edge…..
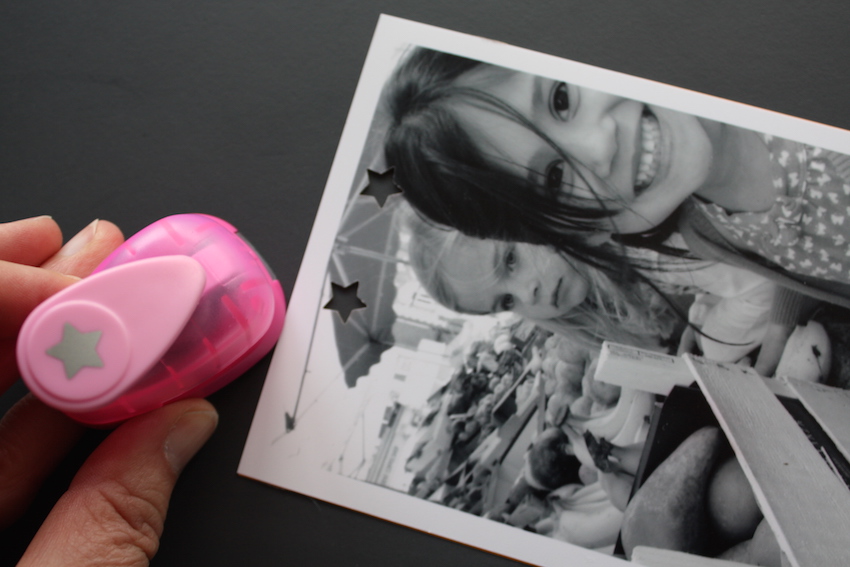
 Punch some holes….
 Thread on the strings. This is the back.
 This is the front.
 And hang up.
So many great memories on a string. And here they are in the marquee.
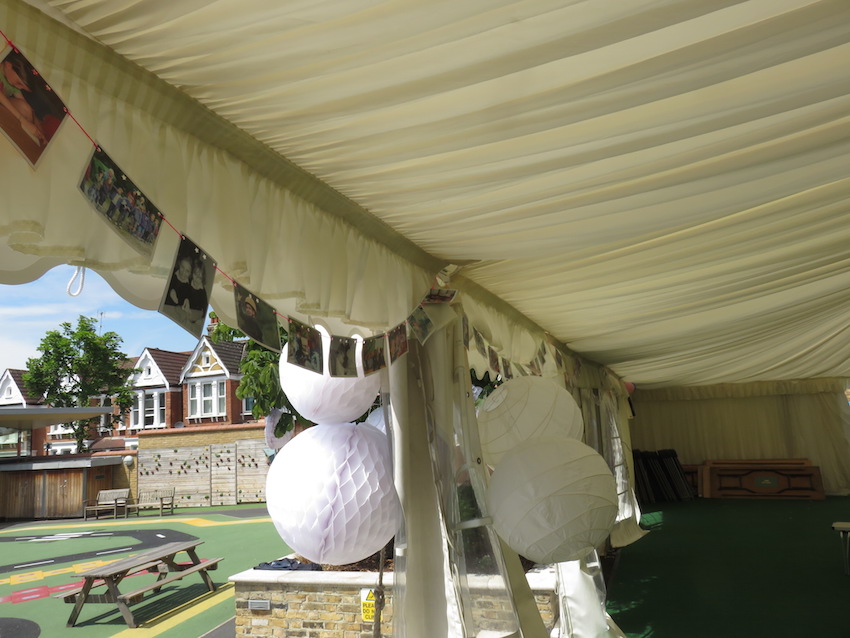 Inside….
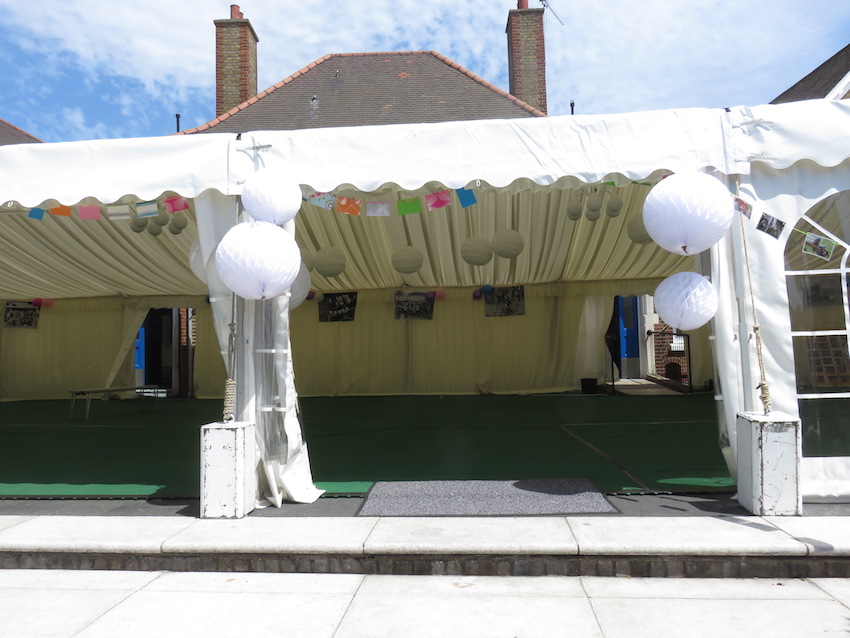 And outside…
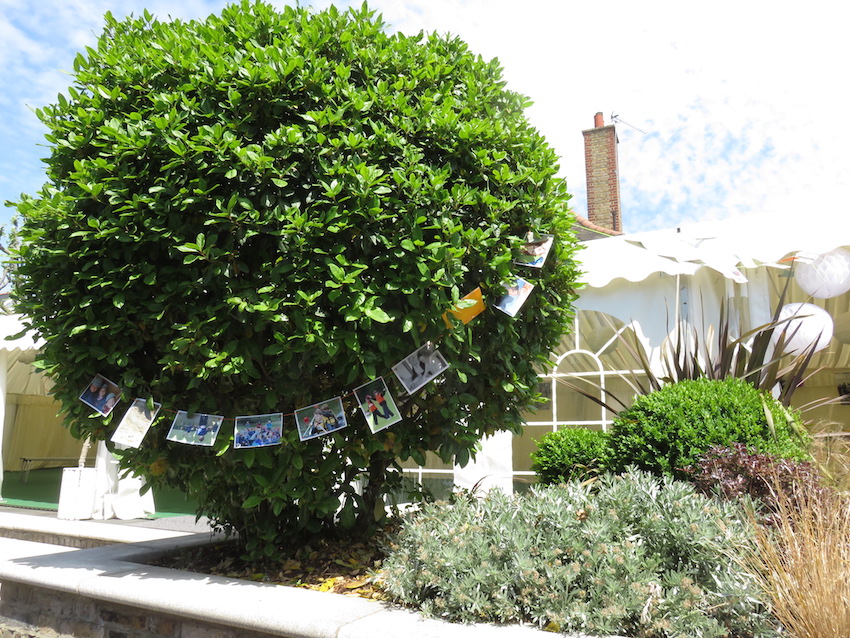
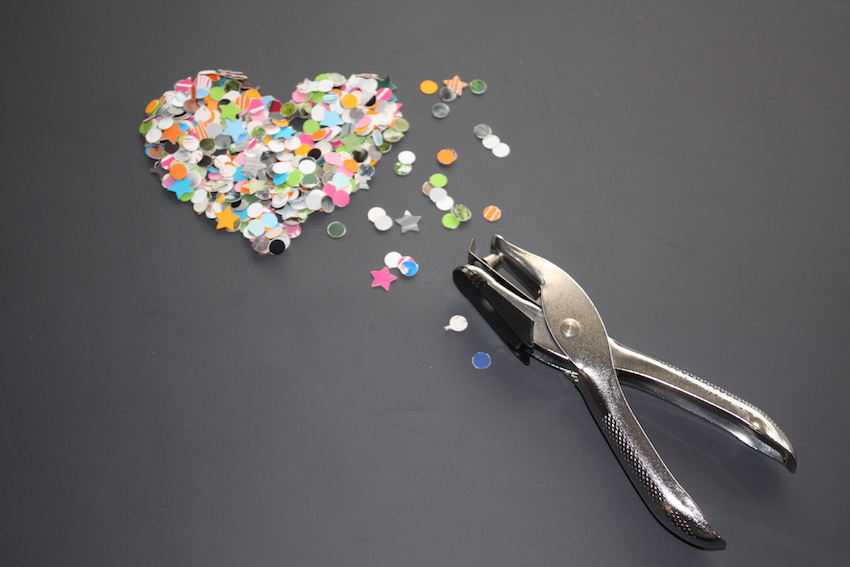
In the end I made around 40m of this stuff at a total cost of only £10-12.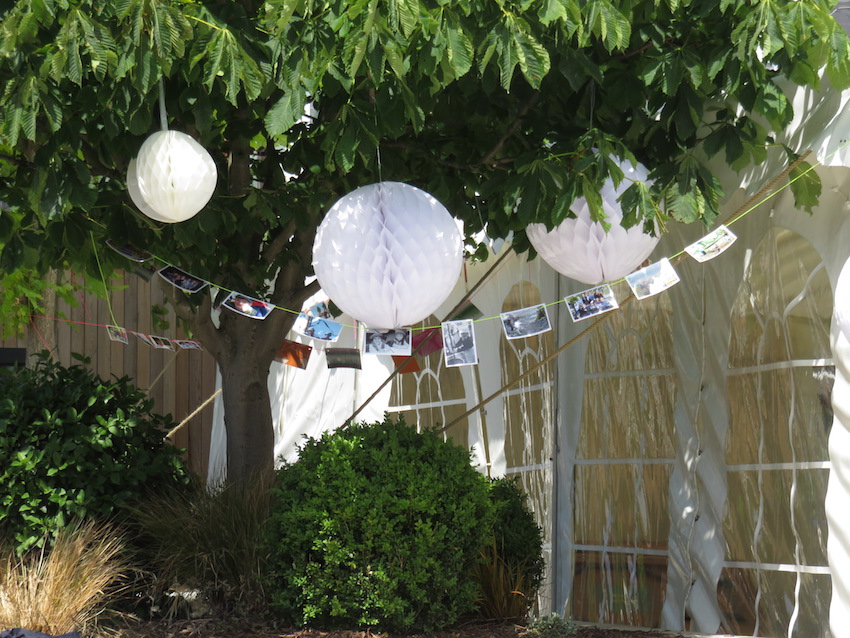 Catastrophy! I managed to break my little star cutter. It doesn’t seem to be cut out for action on this industrial scale. I had to revert to the far less photogenic but more fit for purpose circle cutters. Confetti anyone?